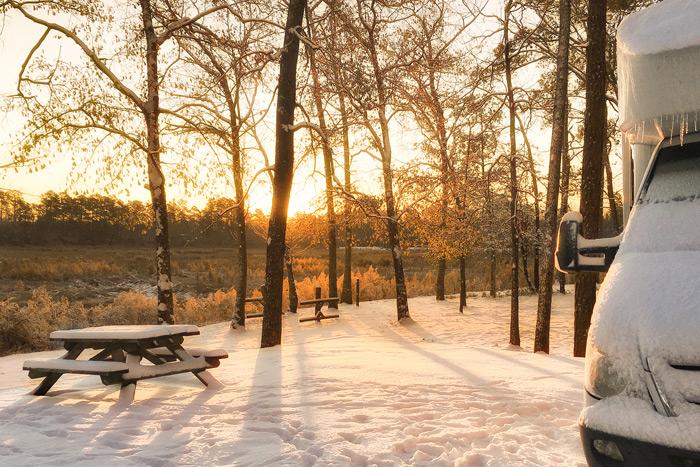
Now that winter is fast approaching, it will soon be time to put the RV away for the season, but not before proper winterization. Winterization of your camper is a necessary step to properly protect your investment during the cold winter months. If you don’t take the time to perform proper winterization for your RV, you risk expensive repairs and, in some cases, irreparable damage to your vehicle.
What Does Winterization Entail?
Winterizing your motorhome involves preparing your vehicle to withstand cold winter conditions. With an RV, there are a few steps to follow in order to ensure your camper is properly protected during the cold winter months. It is critical to properly protect your RV’s plumbing, interior, exterior and chassis components.
Before you start the winterization process, there are a few items you’ll need to get. You can find them at Walmart or RV parts stores. This list includes:
· Nontoxic RV/Marine antifreeze. The amount depends on the layout and length of your plumbing lines. Two to three gallons will usually do it.
· A water heater bypass kit, if one is not already installed on the water heater.
· A tank cleaning wand to clean and flush the black water holding tank if the RV does not have a built-in tank flushing system.
· A water pump converter kit or tubing to connect to the inlet side of the water pump.
· Basic hand tools to remove and install drain plugs.

Winterization: Where to Begin
1. Plumbing is the first area of your RV you should focus on protecting. Leaving standing water in your RV’s holding tanks can cause pipes to burst. Open and drain all water tanks aboard your RV. After this has been done, dry the water lines by blowing compressed air through all pipes and tubes. Replace all drain caps and close all faucets.
2. Add antifreeze to your plumbing system. This involves disconnecting the water line that connects to the fresh water pump. If possible, bypass your water heater as well.
3. Remove all food and valuable items. This step is self-explanatory and ensures nothing gets left behind.
4. Fix anything that is broken.
5. Cover any vents or holes. This reduces the likelihood that mice, birds or other creatures will inhabit your vehicle over the winter.
6. Take the weight off your tires. Use wheel chocks to take the weight off your tires and prevent them from going flat over the winter. This important step also prevents your trailer from rolling away.
7. Cover with a breathable cover. This protects your RV from damaging mold and mildew that can grow during the winter months. Ensure that you use a breathable material to prevent this problem. To prevent rips in the material, place rags around any sharp corners or surfaces.
No one likes putting their RV away for the winter. Not only does it involve a lot of work, it also means your RV trips are over for the season. CanaDream is happy to assist with winterizing your RV. Contact our friendly RV Service Department to book your appointment today.


